Stability ball sizing, safety and six exercises to start
Some links in this story go to shops, and we may earn a commission from them.
How to choose a stability ball by height, why anti-burst matters, how firm to pump it, and six exercises from the bridge to the rollout and hamstring curl.
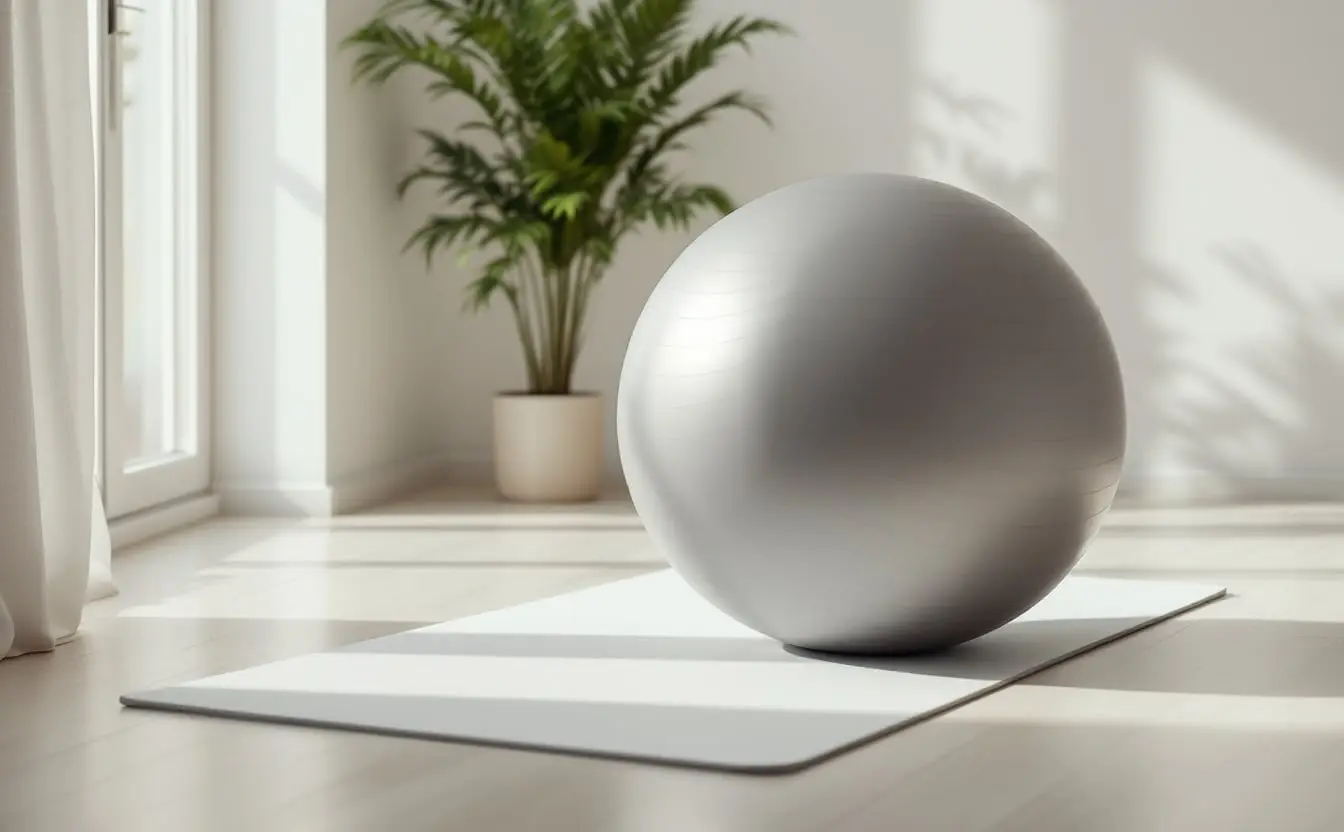
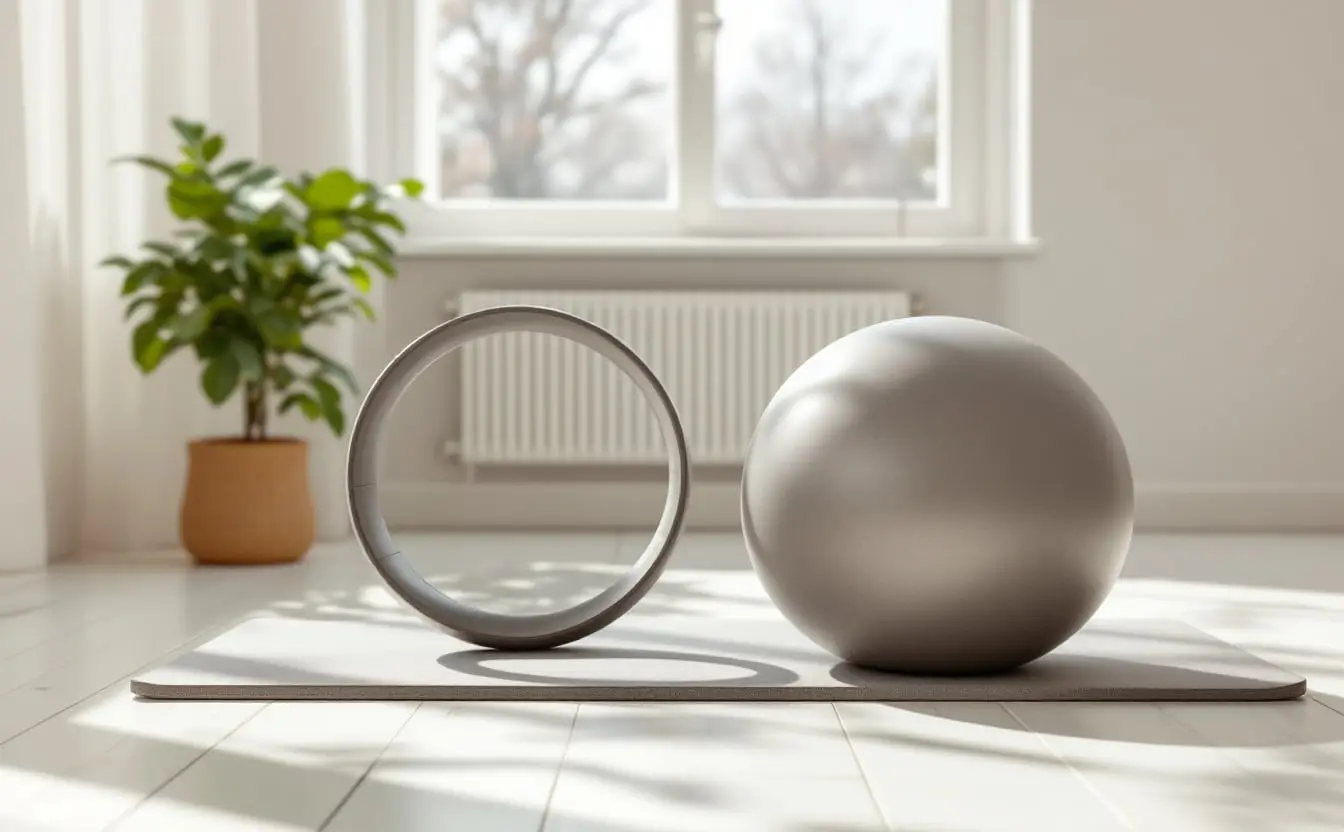
A stability ball is a large air-filled ball, about 18 to 33 inches (45 to 85 cm) across, that you sit, lie or lean on so your trunk has to keep you steady. The right size puts your hips level with or a little above your knees when you sit on it with your feet flat. Buy an anti-burst ball, pump it to its stated diameter, and it will carry you through bridges, rollouts and hamstring curls for a long time.
It is also sold as an exercise ball, Swiss ball or gym ball. The Swiss name comes from physiotherapists in Switzerland who used these balls in rehabilitation long before gyms did, and it still turns up in physio-led and contemporary Pilates classes, though not in the classical mat order. It suits people who want core and hip work with built-in feedback, and who have a corner to spare: an inflated 65 cm ball takes up about as much room as a small armchair.
Three stability balls compared
| Pick | Best for | Key facts |
|---|---|---|
| URBNFit anti-burst exercise ball | Getting the size exactly right | Five sizes from 45 to 85 cm; anti-burst PVC; pump included |
| Gaiam balance ball kit | A first ball, with a guide to get you going | Anti-burst with a textured surface; air pump included; printed workout guide |
| APEXUP thick exercise ball | Hard floors and heavy use | Extra-thick honeycomb PVC that lets air out slowly if punctured; non-slip textured surface; five sizes from 45 to 85 cm; pump included |
We chose these from the makers' specifications, published reviews and how well each suits Pilates-style core and mobility work. We have not tested them ourselves, so treat the table as a shortlist and check the size chart on the listing before you order.
Kit list
- Power Systems Poz-A-BallBest for: holding positionsSee it at Power Systems (Power Systems Poz-A-Ball)
- Power Systems yoga and Pilates rangeBest for: equipping a roomSee it at Power Systems (Power Systems yoga and Pilates range)
We may earn a commission from these links.
What size stability ball do you need?
Height is the starting point. Makers' charts differ by an inch or two, but most land close to this:
| Your height | Ball size |
|---|---|
| Under about 5 ft (152 cm) | 45 cm |
| About 5 ft to 5 ft 6 in (152 to 168 cm) | 55 cm |
| About 5 ft 7 in to 6 ft 1 in (170 to 185 cm) | 65 cm |
| About 6 ft 2 in to 6 ft 7 in (188 to 200 cm) | 75 cm |
| Taller than about 6 ft 7 in (200 cm) | 85 cm |
Then do the sit test, because legs vary more than heights do. Sit in the middle of the inflated ball, feet flat and hip-width apart, and look at your thighs. They should be level with the floor or slope gently down from hip to knee, knees bent at roughly a right angle. If your knees sit higher than your hips, the ball is too small or too soft. If your feet barely reach the floor, it is too big.
Between two sizes, long legs suit the larger ball, and so does mostly seated work. For exercises with your heels on top of the ball, such as bridges and hamstring curls, a smaller ball is a little easier to control. A ball sold in five sizes makes the choice simpler than one offered as "one size fits most".
Anti-burst, and why it matters
Anti-burst, or burst-resistant, means the ball is made to deflate slowly if punctured rather than pop. On something you sit on and lie over, that matters. A ball that splits drops you straight to the floor. A ball that sighs gives you time to get off.
Most exercise balls claim it, but makers measure burst resistance and weight limits in different ways, so treat any figure as a ceiling and stay well under it. Thicker walls help, and so does a textured surface, which grips the floor and your skin better than a shiny one. A thick honeycomb PVC ball is the kind to look for on tiles or wooden boards, or if several people in the house will use it.
How to inflate a stability ball
New balls arrive folded and creased, and PVC needs time to stretch.
- Let the ball reach room temperature. Cold PVC is stiff and fills unevenly.
- Pump it to about 80 percent of its stated size, push the plug in firmly and leave it for 24 hours.
- Top it up to the full diameter. Mark the size on a door frame, about 25.5 inches (65 cm) up for a 65 cm ball, and pump until the top of the ball reaches the line.
- Sit on it again. At the right pressure it gives a little, but your hips should not sink below your knees.
A softer ball sits wider on the floor and is steadier, which suits beginners; a firmer one feels livelier. Never pump beyond the stated diameter, and top it up every few weeks.
What to avoid
- A ball with no size chart, or no anti-burst claim.
- Sharp furniture corners, drawing pins on the floor and cats that sharpen their claws on anything round.
- Standing or kneeling on top of the ball. It is a party trick, not training, and it is how people get hurt.
- Heavy dumbbell work on the ball before you are steady with your own bodyweight.
Six stability ball exercises
Work on a mat with a few feet of clear floor all round, in bare feet or grip socks rather than ordinary socks. Move slowly; the ball punishes speed. If you have a back, hip or knee problem, osteoporosis or poor balance, or you are pregnant, ask a physiotherapist or your doctor which of these suit you first.
1. Seated pelvic tilts and marching
Sit in the centre of the ball, feet flat and a little wider than your hips, hands on the ball beside you. Tuck your pelvis under so the ball rolls an inch or two (3 to 5 cm) forwards, then tip it the other way, shoulders still. Do 8 each way, then 5 slow circles each direction, then 10 slow marches, lifting one foot an inch at a time. You should feel the lower back and hips moving while the trunk works quietly to keep you upright. Easier: ball against a wall. Harder: feet closer together, arms crossed over your chest. On floor days, the hip mobility exercises library has twelve more moves for the same area.
2. Wall squat with the ball
Stand with the ball between your lower back and a wall, feet hip-width apart and about a foot (30 cm) in front of you. Bend your knees and lower, letting the ball roll up your back, until your thighs are close to parallel with the floor or as low as is comfortable, knees over your middle toes. Push through your feet to stand. Do 8 to 12. You should feel the fronts of the thighs and the seat. Easier: a smaller knee bend. Harder: pause for three slow counts at the bottom.
3. Bridge with heels on the ball
Lie on your back, arms by your sides with palms down, heels on top of the ball and legs nearly straight. Breathe out, press your heels into the ball and lift your hips until your body makes a straight line from shoulders to heels. Hold for two breaths, then lower one vertebra at a time. Do 8 to 10. You should feel the backs of the thighs and the seat, and your trunk steadying a ball that wants to roll sideways. Easier: calves on the ball for more contact, and lift only halfway. Harder: arms crossed over your chest.
4. Stability ball hamstring curl
Set up as for the bridge and lift your hips. Keeping them up, bend your knees and draw the ball towards your seat with your heels until the soles of your feet are almost flat on it. Roll it slowly back out until your legs are long, without letting your hips drop. Do 6 to 10. You should feel the hamstrings working hard, with the seat. If the backs of your thighs cramp, stop and do fewer next time. Easier: lower your hips between curls, or roll the ball only halfway in. Harder: take three counts to roll out, or curl with one heel on the ball and the other leg reaching to the ceiling.
5. Stability ball rollout
Kneel on the mat, folded double if your knees complain, with your forearms on top of the ball and hands lightly clasped. Tip forwards until your body is in one line from knees to shoulders. Breathe out and roll the ball forwards, forearms travelling along it, only as far as you can go without your lower back sagging. Use your abdominals to draw the ball back. Do 6 to 10. You should feel the abdominals working to stop the back arching. If the dead bug and bird dog in our guide to deep core exercises still feel hard, master those first: the rollout asks for the same control on a surface that moves. Easier: roll only a few inches. Harder: roll further, or hold a forearm plank on the ball and draw small, slow circles with your elbows.
6. Back extension over the ball
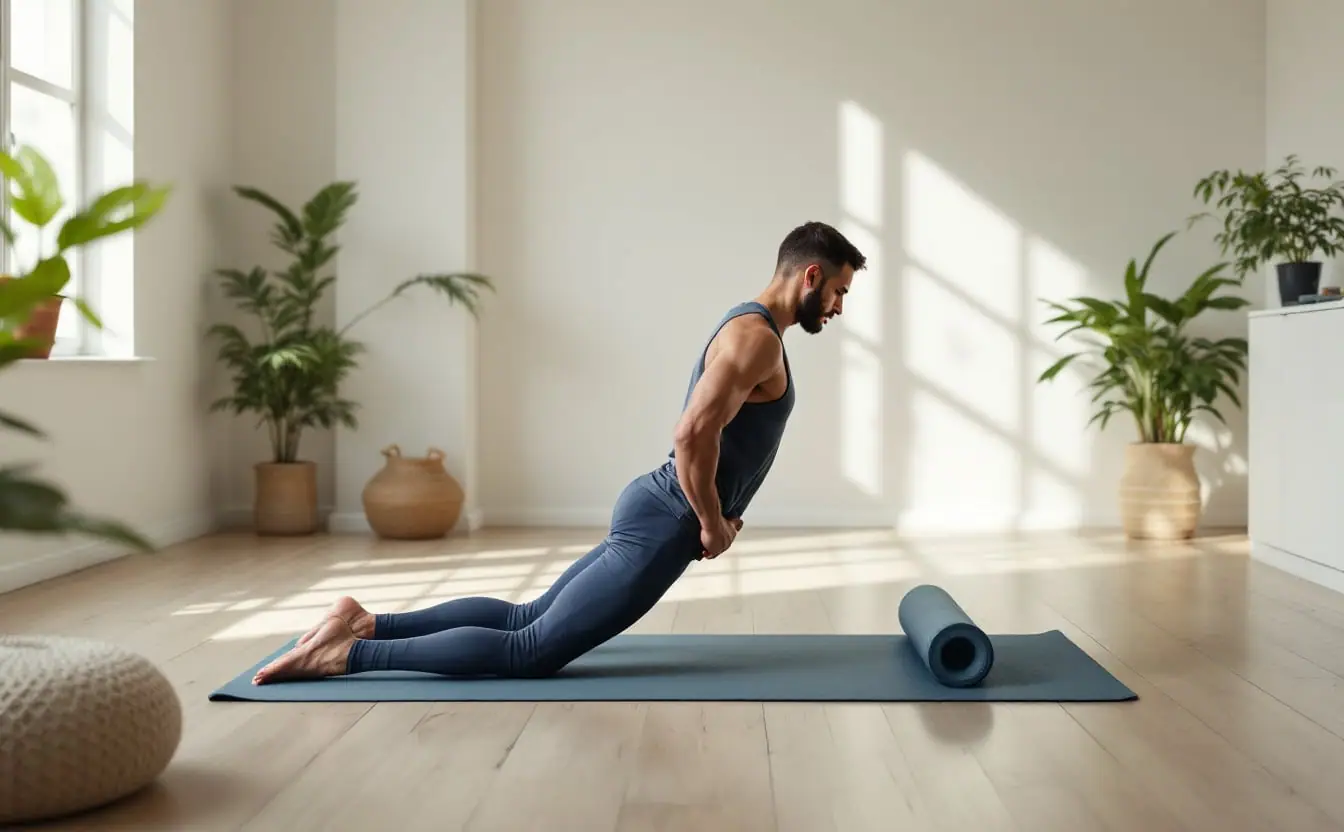
Kneel behind the ball and drape your belly and hips over it, legs long behind you, toes tucked under and feet wide, or with the soles against the bottom of a wall. Rest your fingertips at your temples. Breathe out and lift your chest until your body is in one long line from head to heels, eyes on the floor. Pause, then lower slowly. Do 8 to 10. You should feel the muscles along the spine, the seat and between the shoulder blades. Stop at the straight line; arching further adds nothing. Easier: hands on the floor in front of the ball and a smaller lift. Harder: reach both arms forwards alongside your ears.
One round of all six takes 12 to 15 minutes. Two or three sessions a week is plenty.
Care and safety
Wipe the ball with a damp cloth and a little mild soap, and keep it out of strong sunlight and away from heaters, which age PVC quickly. Before each session, run a hand over it for scuffs, thin patches or a slow leak round the plug, and retire a damaged ball rather than patching it. Keep it away from stairs, where a loose ball can roll under someone's feet.
Stability ball questions
Is a stability ball the same as a Pilates ball?
No. A Pilates ball is the small, soft one, about 9 inches (23 cm) across and only partly inflated, which you squeeze between your knees or slip under your lower back. The guide to building a home Pilates kit explains where it fits.
Should you sit on a stability ball at your desk?
For short spells, if you enjoy it. Studies comparing ball sitting with ordinary chairs have generally found little difference in posture or trunk muscle activity, and most people slump on a ball once the novelty wears off. If you try it, check the height against your desk and still get up regularly.
Leave it where you can see it
A ball deflated in a cupboard rarely comes out again. Keep it inflated beside the mat and do the seated tilts while the kettle boils. Two minutes most days will teach your trunk more than one ambitious session a month.