Resistance bands for home Pilates: types, strengths and a session
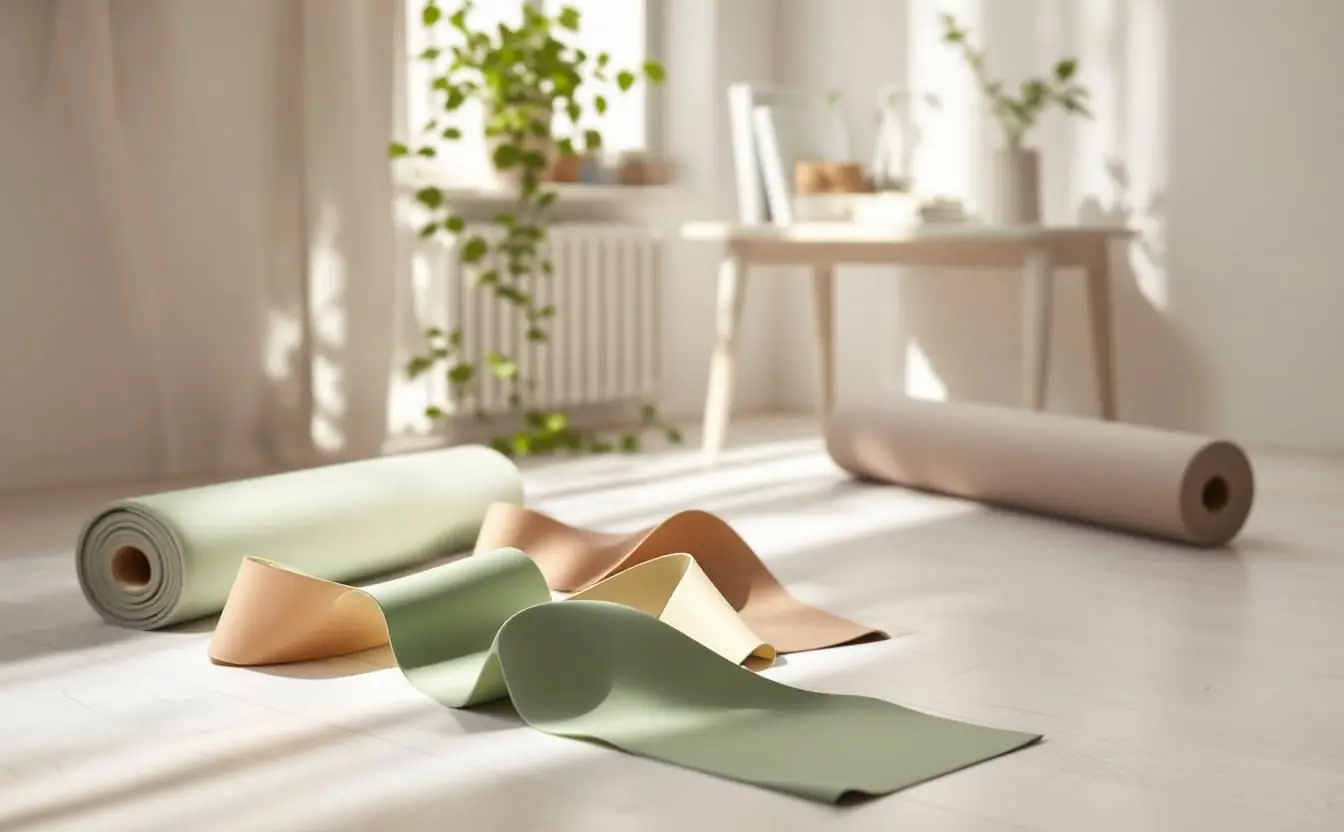
A resistance band is the nearest thing most homes have to a reformer spring. It is not the same. A spring gives a steadier pull and the carriage supports your body, while a band needs you to supply all of the stability. But a band does the job that matters most at home: it gives your arms and legs something to work against, and something to control on the way back. It also costs a few pounds, weighs almost nothing and fits in a kitchen drawer.
The difficulty is choice. Bands come as small loops, long flat strips, tubes with handles and fabric hoops, in colour codes that change from one maker to the next. Here is how to pick, how to look after them, and a session that borrows from reformer Footwork, the arm series and the side-lying work.
The main types of band
| Type | What it is | Typical size | Good for in Pilates | Watch for |
|---|---|---|---|---|
| Mini loop | A small closed loop of latex or rubber | Roughly 25 to 30 cm long when laid flat | Clams, bridges, side-lying leg work | Rolls and pinches on bare skin; can snap if nicked |
| Long flat band | A strip of thin latex or latex-free material, open at both ends | Usually 1.2 to 2 m long, about 15 cm wide | Footwork, leg circles, seated and standing arm work, side bends | Needs a secure grip; weak points form where it is knotted |
| Tube with handles | Rubber tubing with a handle at each end | Around 1.2 m | Standing arm work, rowing | Handles can slip off the feet; door anchors must be fitted properly |
| Fabric loop | A woven loop with rubber threads, often with grip inside | Similar to a mini loop, a little wider | Hip work where latex loops roll up | Less stretch, so less suited to long movements |
| Large power loop | A long, thick closed loop | About a metre long when laid flat | Assisted stretching, gym strength work | Usually far too heavy for Pilates; stores a lot of tension |
For most people starting out, one long flat band does more than anything else on that list. If you buy a second item, make it a mini loop or fabric loop for hip work. A set of three long bands in different strengths usually costs somewhere between £10 and £25, and a pack of mini loops less than that.
Resistance levels and colour codes
Bands are normally sold in sets running from light to extra heavy, with a colour for each. There is no shared standard for those colours, so one maker's green can be lighter or heavier than another's. Read the label instead, where many manufacturers give a rough resistance figure.
Two things matter more than the number on the packet. First, the pull rises the further the band stretches, much like a spring, so the end of any movement is the hardest part. Second, you can change the load without changing the band. Hold it shorter and it gets harder; give it more slack and it gets easier. Fold a long band in two for more again.
For Pilates, err on the light side. The point of most exercises is control through the whole range, especially on the return, not the heaviest pull you can manage. A simple test: if you cannot slow the band down on the way back over a count of three or four, it is too heavy for that exercise. Most people end up using a light or medium band for arm work and a medium or heavier one for the legs, which are far stronger.
Latex, care and when to replace a band
Many bands are made from natural latex. If you have a latex allergy, or you share bands with someone who might, buy latex-free ones, usually made from a thermoplastic. They feel slightly different and some wear faster, but they remove the risk.
Bands perish faster than people expect. A few habits make them last:
- Store them out of direct sunlight and away from radiators, both of which make latex brittle.
- Keep them loosely coiled, never tightly knotted, and away from keys, rings and long fingernails.
- Wipe them with a damp cloth after use and let them dry flat. Some makers suggest a light dusting of talc on latex bands to stop them sticking; follow whatever came with yours.
- Check before every session. Stretch the band gently against the light and look for nicks, thin patches, pale streaks or tiny splits, especially where you usually grip or knot it.
- Replace any band with a tear. A small split can give way under load, and a snapping band flicks back towards whatever is nearest, often your face.
Two more safety points. Keep your face out of the line of pull when a band is stretched towards you. And if you anchor a band in a door, use a proper door anchor, shut the door firmly and stand on the side it opens away from, so your pull presses it closed instead of opening it.
A 25-minute band session
You need a long flat band, a mini loop if you have one, and a mat. Move slowly, and treat every return as part of the exercise rather than a rest. If a movement causes pain, as opposed to effort, stop it. If you are managing an injury, a joint problem or a pregnancy, ask a physiotherapist or a qualified teacher to adapt the session for you first.
Warm-up (3 minutes)
Sit tall on the mat, cross-legged or on a cushion, holding the long band overhead with your hands wider than your shoulders. Take five slow breaths into the sides and back of your ribs; our guide to lateral breathing explains how to feel it. Then bend sideways four times each way, keeping both sit bones heavy on the mat.
Footwork on your back (6 minutes)
This mirrors the reformer's Footwork, one leg at a time.
- Lie on your back with your knees bent and feet flat. Draw one knee towards your chest and place the middle of the long band across the ball of that foot, holding an end in each hand with your elbows resting on the mat.
- Settle your pelvis in neutral, with the two hip bones and the pubic bone level, as described in the three anchors of the pelvis.
- Press the leg out on a diagonal until it is straight. Go no lower than about 45 degrees from the floor, and higher if your lower back starts to lift. Bend it back in slowly against the band. Do 8 to 10.
- Move the band to the arch, flex the foot and repeat 8 times, pressing through the heel.
- With the leg straight and angled up, point and flex the foot against the band 8 times, then circle the ankle 4 times each way.
- Change legs and repeat.
Leg circles (3 minutes)
Keep the band round the arch of one foot and straighten that leg towards the ceiling, with the other knee bent and its foot on the floor. Hold both ends of the band and draw small circles with the raised leg, 5 in each direction. The band gives you feedback: if it jerks or goes slack, the circle has grown too big for a still pelvis. Change legs.
Arm work, seated and standing (6 minutes)
- Rowing. Sit tall with your legs straight, or with knees bent if your hamstrings are tight, and the band round the balls of both feet. Holding an end in each hand, draw the elbows back close to your sides, then reach forward slowly. Do 8.
- Chest Expansion. In the same seat, reach both arms forward at hip height. Press them straight back beside your hips, turn your head to one side, then the other, return to centre and let the arms float forward. Do 4 to 6.
- Biceps curls. Stand on the middle of the band with your feet hip-width apart, an end in each hand, palms forward. Curl your hands towards your shoulders without letting the elbows drift forward, and lower slowly. Do 8 to 10.
- Hug a Tree. Wrap the band round your upper back at the level of your shoulder blades, an end in each hand, arms open wide at chest height with a soft bend in the elbows. Bring the hands together in front of your chest as if hugging a broad trunk, then open slowly. Do 8.
- Pull-apart. Hold the band in front of you at shoulder height, hands about shoulder-width apart. Open the arms out to the sides, drawing the shoulder blades gently together, then return under control. Do 8.
Side-lying series with a loop (5 minutes)
- Clam. Lie on your side with your head resting on your lower arm, hips and knees bent and heels roughly in line with your spine. Place a mini loop just above the knees. Keeping the feet together, open the top knee without letting the top hip roll back. Do 10.
- Leg lift. Straighten both legs and bring them slightly forward of your hips, as in the classical side kick position. Move the loop to just above the ankles, or keep it above the knees for a lighter load. Lift the top leg to about hip height and lower it slowly. Do 8 to 10.
- Small circles. Take the loop off, lift the top leg to hip height and draw 5 small circles each way.
- Roll to the other side and repeat.
Finish (2 minutes)
Lie on your back with your knees bent, feet hip-width apart and the loop just above the knees. Press gently out into the loop and roll your spine up into a bridge, then roll down one section at a time. Do 6, then hug your knees to your chest and rest for a few breaths.
Mistakes that waste a good band
The most common one is letting the band do the return: if it snaps you back, half the exercise has gone. Next comes gripping: shoulders creeping up, fists clenched, the band wrapped so tightly round the fingers that they go pale. Hold it in the palm, with one wrap at most. Then there is choosing a band that is too heavy and compensating by arching the back or shortening the movement. Finally, loops that roll into a cord on bare thighs will pinch; wear leggings or switch to a fabric loop.
Bands travel well, too. One long band is the item I would pack first, and our travel kit suggests the rest.
Keep the band where you will see it, over the back of a chair or hooked on a coat peg, not hidden in a drawer. A band in plain sight is a session you are more likely to start.