The three anchors of the pelvis and how to find neutral
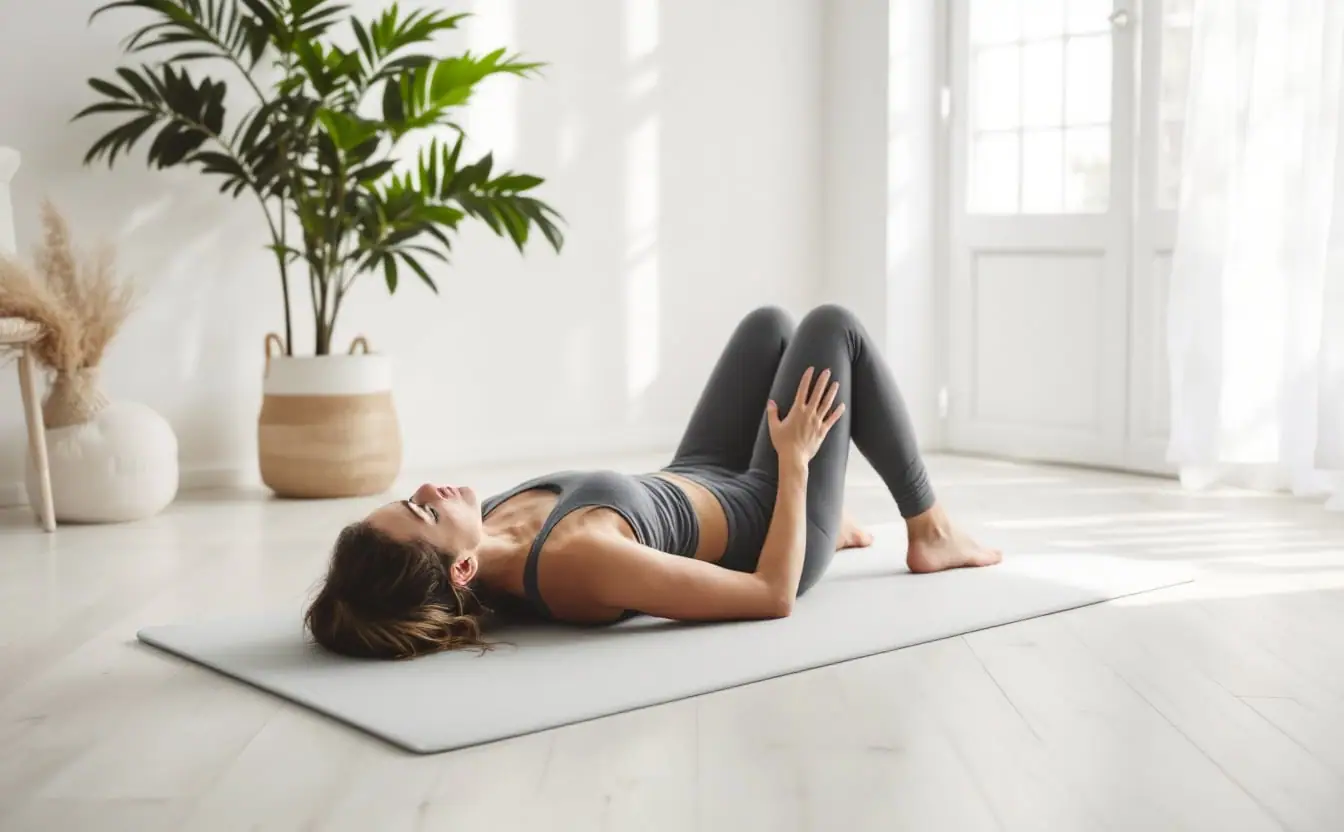
Somewhere in your first few Pilates classes, a teacher will ask you to make a triangle with your hands on the front of your pelvis. Heels of the hands on the two hip bones, fingertips meeting low down over the pubic bone. Then you are asked to keep that triangle level while your legs do something difficult. It sounds fussy. It is also one of the most useful things the method teaches, because it turns a vague instruction like "find neutral" into something you can check with your own fingers.
Those three bony points are the anchors this piece is about. One note on names: "golden triangle" gets used for more than one thing in studios, and some teachers mean a muscular connection between the inner thighs and the sit bones. Here I mean the bones you can feel at the front.
The bones under your hands
The two upper points are the anterior superior iliac spines, shortened by almost everyone to ASIS. They are the bony points at the front of the hips, below and to either side of the navel, the ones that dig into the floor when you lie face down on a thin mat. Sartorius, the long strap muscle that crosses the thigh on a diagonal, starts here.
The lower point is the pubic symphysis, the joint where the two halves of the pelvis meet at the front, held together by a disc of fibrocartilage. Slide your fingers straight down from the navel and it is the first firm bone you meet.
Join the three and you have a triangle across the front of the pelvis. The pelvis connects to the spine through the sacrum at the back, so any change in the angle of that triangle travels straight into the lower back. Tip the top of the triangle forward and the lumbar curve deepens. Tip the bottom forward and the curve flattens. That is the whole mechanism.
Neutral, imprint and the tilts
Neutral pelvis is usually described as the position where both ASIS and the pubic bone sit in the same plane. Lying on your back, the triangle is parallel to the floor. Standing, it faces straight ahead, like a picture hung level on a wall. The lower back keeps its natural curve, so lying down there is a small gap under the waist, room for a flat hand but not a fist.
Imprint is a slight posterior tilt. The pubic bone rises a fraction above the hip bones and the lower back lengthens towards the mat without pressing hard into it. Contemporary schools, many shaped by physiotherapy, teach neutral and imprint as two named positions and choose between them exercise by exercise. Classical teachers are more likely to ask for a long lower back on the mat whenever the legs are in the air. Both want a lower back that is supported rather than left hanging under the weight of the legs.
| Position | Lying on your back | Lower back | Where you meet it |
|---|---|---|---|
| Neutral | Hip bones and pubic bone level | Natural curve, small gap under the waist | Feet on the floor: leg slides, knee folds, standing work |
| Imprint | Pubic bone slightly higher than the hip bones | Long and close to the mat, no gripping | Legs lifted: The Hundred, Single Leg Stretch |
| Anterior tilt | Hip bones higher than the pubic bone | Arched, ribs lifting | Usually what happens when the legs get too heavy |
| Full posterior tilt | Pubic bone well above the hip bones | Flattened, tailbone curling up | Part of articulation, such as the start of a bridge |
Whether neutral or imprint is better for the back during abdominal work has been argued over for years, and the research does not settle it. My reading: a comfortable, controlled version of either beats a perfect one you can hold for two repetitions.
Finding it lying down
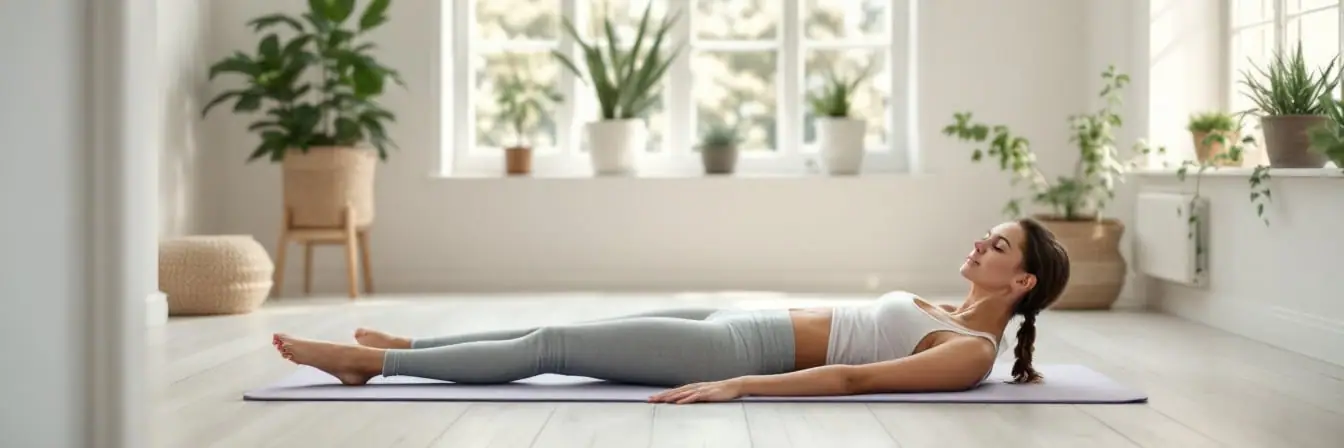
- Lie on your back with knees bent, feet flat and hip-width apart, arms by your sides. If your chin tips up, put a folded towel under your head.
- Make the triangle: heels of the hands on the hip bones, fingertips pointing down to meet over the pubic bone.
- Rock the pelvis gently. Let the pubic bone rise towards the ceiling so the lower back lengthens, then let the hip bones rise so the back arches a little. Six slow rocks, breathing normally.
- Make each rock smaller than the last and settle in the middle, where the triangle feels level under your hands. That is your neutral for today.
- Take your hands away and see if you can still sense it. Then breathe wide into the sides and back of the ribs, as in lateral breathing, and let the ribs move while the triangle stays still.
The rocking matters more than the stopping point. Pelvises vary in shape, so a perfectly flat triangle is a reference, not a law. If your back feels long and easy while your hands report a slight slope, trust the back.
Sitting and standing
Sit on a firm chair or the edge of a bench with your feet flat. Rock slowly back and forth over your sit bones, the ischial tuberosities underneath you. Rolling back drops you towards the tailbone; rolling forward arches the lower back. Neutral is the middle, weight balanced on the sit bones, triangle upright. Spine Stretch Forward and the Saw start from here, and so does a less miserable day at a desk. If long days in a chair leave your hips stiff, the 10-minute hip routine for desk days pairs well with this.
Standing, put your hands back on the triangle and look side-on in a mirror. You want the triangle roughly vertical. Plenty of people stand with the hips drifting forward of the ankles and the pelvis tucked under, a shape often called sway-back. Others push the bottom out and arch the lower back. Neither is a moral failing. The useful skill is noticing, and coming back to the middle when you choose to.
Exercises that teach the pelvis to stay put
These basic drills, done slowly and five each side, build the trunk control that sits under everything else in the method, the subject of our piece on core strength for a long life. Keep a hand on the triangle for the first few sessions.
- Knee folds: from neutral, breathe out and float one bent leg up until the knee is over the hip and the shin is parallel to the floor. Lower it and change sides. If the triangle wobbles, the hip bone on the working side usually rises first.
- Leg slides: slide one heel away along the floor until the leg is long, then draw it back. Watch for the lower back arching.
- Single Leg Circles: one leg reaching to the ceiling, the other long on the mat, or bent if your hamstrings complain. Small circles, five each way, with no side-to-side rocking of the triangle.
- Pelvic curl: start in neutral, curl through imprint and peel the spine up into a bridge, then roll down bone by bone and let the pelvis settle back to level. It teaches the positions better than any explanation.
- Side-lying work: in the Side Kick series the triangle stands on its edge. Stack one hip bone directly over the other; the top one likes to roll backwards.
When neutral is not the goal
Neutral is a place to start from and come back to, not a position to clamp in place. Spines are built to move, and the Roll Up, Rolling Like a Ball and Swan all leave neutral on purpose. Gripping the stomach and buttocks to hold a rigid triangle all day tends to make people stiff rather than strong. If you have back or pelvic pain, are pregnant, or have a diagnosed spinal condition, ask a physiotherapist or an experienced teacher to check your positions in person, because which position suits you, and when, is exactly what an article cannot judge.
For everyone else, try it tonight. Two minutes on the floor, knees bent, hands on the triangle, rocking smaller and smaller until the movement stops on its own. It is the cheapest posture lesson going.